Pantry Organization Ideas on a Budget: 15 Cheap Ways to Maximize Space
You open the pantry door, and something falls out. A half-empty cracker box, a bag of rice with a twist tie that I gave up weeks ago, three jars of the same spice because you couldn’t find the first two. If that sounds familiar, you don’t need a new kitchen — you need pantry organization ideas on a budget that actually hold up once real life (and hungry kids) get involved.
This isn’t about buying every cute bin at the Container Store. It’s about a handful of cheap, smart moves that make your pantry work for you, without draining your wallet. By the end of this, you’ll have 15 practical ideas, a realistic sense of what they cost, and a system that doesn’t fall apart in three weeks.
Start With a 20-Minute Purge Before You Buy Anything
The fastest way to waste money on pantry organization is buying storage for food you’re about to throw away. Pull everything out, check dates, and group what’s left before a single bin gets purchased.
Here’s where most people get stuck: they see a messy pantry and go straight to Pinterest for containers. But a stuffed pantry usually has less food than it looks like — it just has more packaging. Expired spices, stale crackers, three opened bags of the same pasta shape. Get rid of it first.
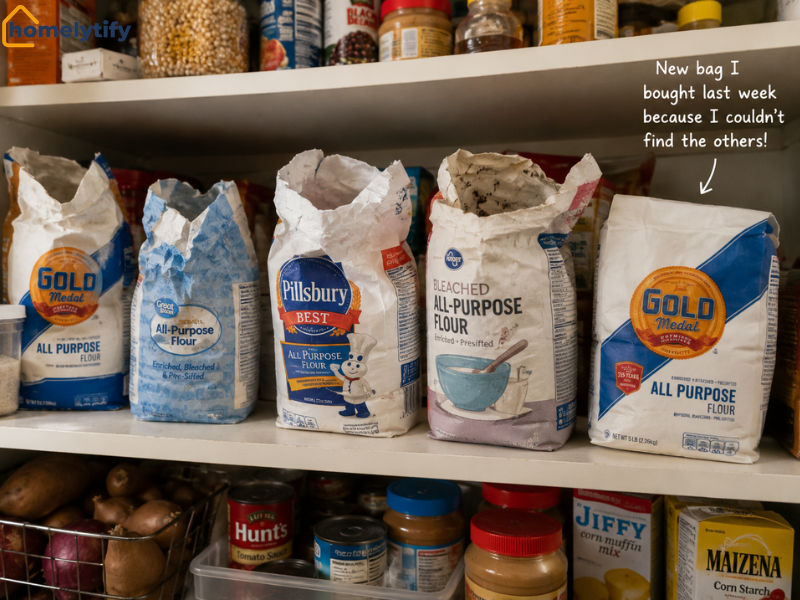
The first time I did this in my own kitchen, I pulled out four opened bags of flour before I found the one I actually needed. Two were nearly empty, one had a bug problem I didn’t want to think about, and I’d bought a fresh bag two weeks earlier because I couldn’t see what was already on the shelf.
That’s twenty minutes of sorting that would’ve saved me about eight dollars and a genuinely unpleasant surprise. It’s a small thing, but it’s the moment I stopped buying containers first and started purging first every single time.
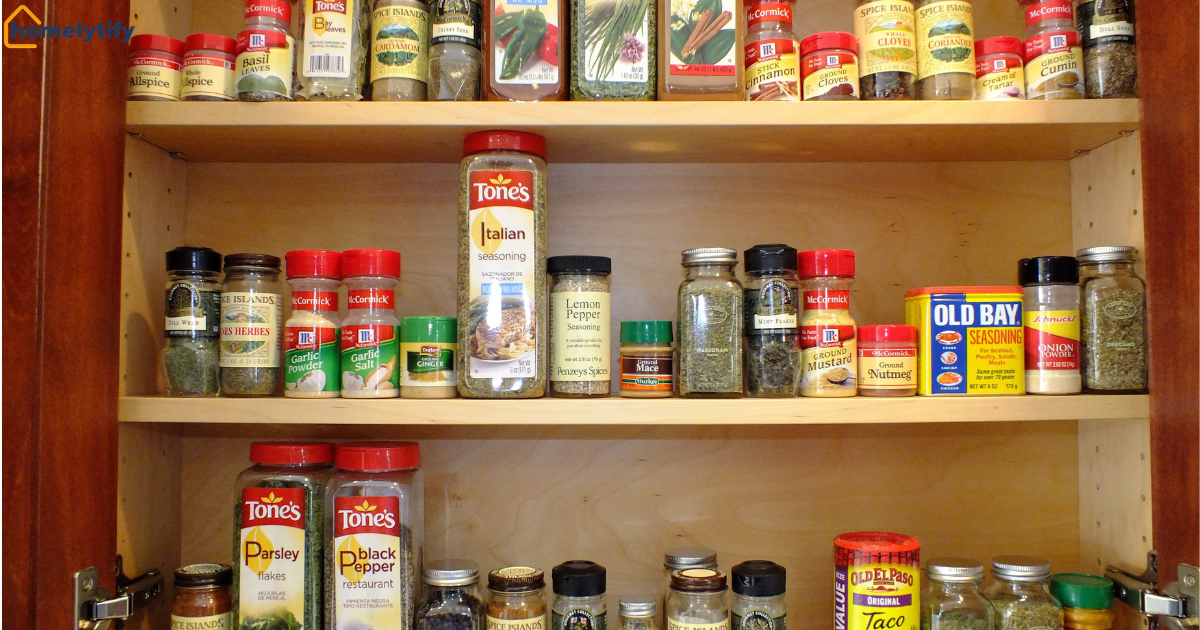
Once things are cleared out, sort what’s left into rough categories — baking, breakfast, snacks, canned goods, grains. You’ll immediately see what you actually own, and that tells you what kind of storage you really need instead of guessing.
Real Cost Breakdown: What This Actually Costs to Set Up
A basic pantry organization refresh typically costs between $30 and $80 using dollar store bins, repurposed jars, and printed labels, versus $300 or more for matching name-brand containers and custom shelving. The price gap comes down to container brand, not function.
To put real numbers on it:
| Item | Budget Option | Cost | Premium Option | Cost |
| Clear bins (set of 4) | Dollar Tree bins | $4–$8 | Branded acrylic bins | $40–$60 |
| Food storage jars | Repurposed glass jars | Free | Matching glass canister set | $60–$100 |
| Labels | Printable labels + tape | $2–$5 | Etched glass or vinyl label kit | $20–$30 |
| Shelf riser | Cardboard box, cut down | Free | Metal shelf riser | $15–$25 |
| Lazy Susan | Dollar Tree turntable | $1.25–$5 | Bamboo lazy Susan | $25–$40 |
You don’t have to pick one column entirely. A lot of people mix it — a couple of nicer glass jars for flour and sugar because they’re used daily, and dollar store bins for everything else. That’s honestly the smarter approach anyway.
15 Pantry Organization Ideas on a Budget That Actually Work
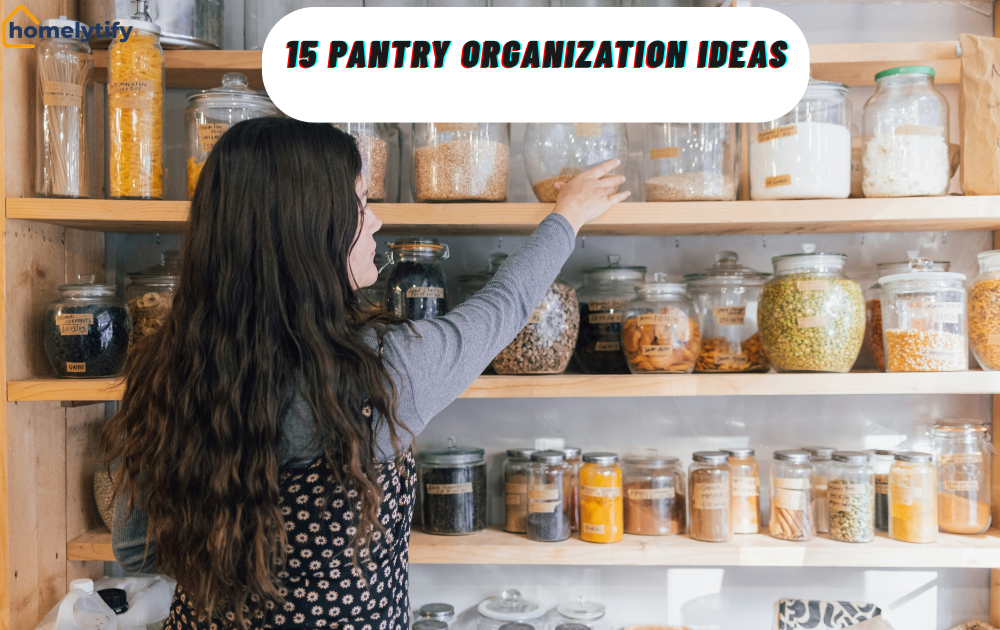
These are the ideas that hold up after the first month, not just on move-in day. Some cost nothing. A few cost a couple of dollars. None of them need a trip to a specialty container store.
Containers, Bins, and Jars
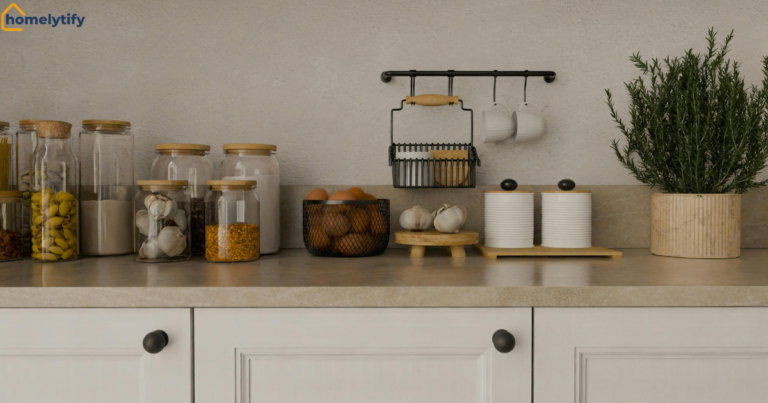
1. Repurpose glass jars from food you already buy. Pasta sauce jars, pickle jars, and peanut butter jars clean up nicely and work great for dry goods like rice, oats, or beans. Soak off the label with warm water and a little dish soap, and you’ve got a free container.
2. Use Dollar Tree bins for grouped items. A single dollar store bin can hold every snack-size chip bag, granola bar, or fruit pouch that would otherwise slide around loose. Buy a few in the same color so the shelf looks intentional instead of thrown together.
3. Try clear shoe boxes for bulk items. Clear plastic shoe boxes (often $1–$3) are deep enough for flour, sugar, or pet food scoops, and you can see what’s left without opening the lid.
4. Cut down cereal boxes into DIY organizers. Cardboard cereal or cracker boxes, cut at an angle, become free magazine-style holders for flat items like tortillas, foil, or plastic wrap boxes.
5. Use mason jars for small dry goods. Chia seeds, chocolate chips, nuts, and baking soda all fit well in mason jars you likely already have from canning or leftover pickles.
Shelving and Vertical Space
6. Add a tension rod under a shelf. A cheap tension rod ($3–$6) mounted under a shelf creates hanging storage for spray bottles, cleaning cloths, or lightweight bags. It’s one of the least talked-about tricks in pantry shelving ideas, and it costs almost nothing.
7. Stack with a wire or wood shelf riser. Risers double your usable shelf space by letting you stack cans or boxes on two levels instead of one flat row. Dollar stores usually carry a plastic version for a couple of dollars.
8. Use command hooks for lightweight items. Aprons, reusable bags, or oven mitts don’t need shelf space — they need a hook on the inside of the pantry door.
9. Install a lazy Susan for corners and oils. Corner pantry space gets wasted constantly because you can’t see what’s pushed to the back. A $5 turntable fixes that instantly for oils, vinegars, and small jars.
10. Repurpose a bookshelf or baker’s rack. If your pantry is really just a cabinet or a closet with no built-in shelving, a secondhand bookshelf (check Facebook Marketplace or curb alerts) can become your entire pantry setup for under $20.
Labels and Systems
11. Make labels with painter’s tape and a marker. This costs about a dollar and works exactly as well as decorative chalkboard labels for keeping flour and sugar from getting mixed up.
12. Print free labels instead of buying a label maker. A lot of organization blogs and printable sites offer free pantry label sheets you can print at home on cardstock. It looks polished without the $30 Dymo purchase.
13. Color-code by household member or meal type. If more than one person shops or cooks, color-coded bins (even just different-colored tape) cut down on the “where did you put it” questions fast.
Small-Space and Budget Tricks
14. Use a hanging shoe organizer on the door. A $5–$8 fabric or clear-pocket shoe organizer on the inside of the pantry door holds spice packets, snack bags, and small condiment bottles that otherwise get lost.
15. Buy in smaller batches until your system is set. This one’s rarely mentioned, but it matters: don’t restock in bulk until your categories and containers are actually working. Buying a giant bag of rice before you have a container for it just creates a new mess to solve later.
Small Pantry Organization: What to Do When There’s Barely Any Room
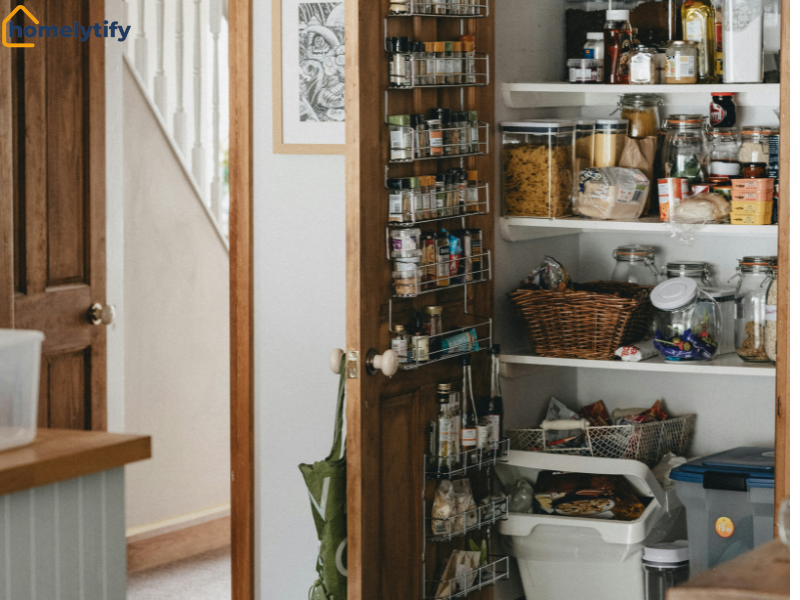
A small pantry works best when every inch of vertical space is used, and only frequently-used items sit at eye level. That means adding risers, door storage, and stackable bins rather than trying to widen shelves you don’t have room for.
This is where things usually fall apart for apartment dwellers and renters — you can’t knock down a wall or install permanent shelving. So the fix has to be temporary and portable:
- Use over-the-door organizers instead of extra shelving.
- Store bulky, infrequent items (extra napkins, holiday baking supplies) in bins that live on the floor or in a closet, not prime shelf space.
- Go vertical with stackable bins rather than spreading items out flat.
- If you don’t have a pantry at all, a single kitchen cabinet or even a rolling cart tucked beside the fridge can function as one.
One thing that helped more than any container: I stopped storing appliances in the pantry. A stand mixer or air fryer box takes up more shelf space than half your dry goods combined. Moving those elsewhere freed up an entire shelf without spending a cent.
Can You Organize a Pantry Without Buying Containers?
Yes, a functional pantry can be organized with items you already own, including repurposed jars, shoeboxes, cardboard dividers, and grouping food directly on shelves by category. Containers make things look tidier, but grouping and labeling are what actually make a pantry usable.
If your budget for this project is genuinely $0, here’s the order that matters most:
- Group by category first (this alone solves most of the chaos).
- Face labels forward so you’re not digging.
- Put frequently used items front and center; push occasional-use items back.
- Use existing boxes, jars, and baskets from your recycling before buying anything.
Containers are the finishing touch, not the foundation. A lot of people skip straight to buying bins and skip the grouping step, and that’s exactly why the pantry looks nice for a week and then slides back into chaos.
How to Label a Pantry on a Budget
Simple pantry labels don’t need to be fancy to work. Painter’s tape and a permanent marker, free printable label templates, or a basic sticker roll all do the job of preventing mix-ups between similar-looking dry goods.
A few practical notes from actually doing this for multiple pantries:
- Use painter’s tape on jars you refill often — it peels off cleanly when contents change.
- Save the nicer printed labels for containers that rarely get swapped, like flour, sugar, and rice.
- Label shelves themselves, not just containers, if more than one person uses the kitchen. It cuts down on things getting put back in the wrong spot.
Common Pantry Organization Mistakes (and How to Avoid Them)
Even with the right bins, a pantry can fall apart fast if a few habits sneak in. These are the ones that show up again and again — and the effect of clutter on how you feel isn’t just anecdotal.
A 2025 study published in the Journal of Environmental Psychology found that people who see their homes as more cluttered report lower well-being and life satisfaction, along with more negative feelings overall. A packed, disorganized pantry is a small piece of the bigger picture, but it’s one of the easiest to fix.
Mistake 1: Buying containers before decluttering. It’s tempting to shop first because it feels like progress. But you end up buying the wrong sizes for food you don’t actually keep. Purge first, measure your real needs, then shop.
Mistake 2: Matching everything perfectly. A uniform, Instagram-style pantry looks great in photos, but chasing a matching set usually means overspending on one style of container that doesn’t fit every item you own. Mixed sizes that fit your actual shelves work better than a matched set that doesn’t.
Mistake 3: Ignoring expiration dates during setup. Transferring stale or expired food into a nice new jar doesn’t fix the problem — it just hides it in a nicer package. Check dates during the purge, not after everything’s already transferred.
Mistake 4: Storing the heaviest items up high. Big bags of flour, rice, or canned goods belong on lower shelves. Putting them up high is both a safety risk and a hassle every time you need one.
Mistake 5: Skipping labels because “you’ll remember.” This one fails within a month, especially with more than one person in the house. What’s obvious to you on day one isn’t obvious to your partner or your kids on day thirty.
How to Keep a Budget Pantry Organized Long-Term
An organized pantry stays organized when there’s a quick reset built into your routine, not when you rely on remembering to tidy it. Here’s what actually works without turning into another chore you dread:
- Do a 5-minute reset weekly, ideally the night before grocery shopping — push things back into place and note what’s actually empty.
- Check expiration dates during your monthly deep clean, not during meal prep when you’re in a hurry.
- Keep an “empty container” habit — as soon as a bin or jar runs out, refill it right away instead of leaving an empty spot that becomes a dumping ground.
- Re-evaluate categories every few months. Kids’ snack habits change, cooking styles shift, and the system that worked in January might need tweaking by summer.
None of this requires spending more money. It just requires deciding that the system matters enough to spend five minutes on it regularly.
Conclusion
A well-organized pantry has very little to do with how much you spend and a lot to do with whether your system matches how you actually cook and shop. The dollar store bins, the repurposed jars, the painter’s tape labels — none of it needs to look magazine-perfect to work.
What matters is that you can open the door, see what you have, and grab what you need without digging. Start with the purge, pick three or four ideas from this list that fit your space, and build from there. You can always add more later — but you’ll probably find you don’t need to.
Frequently Asked Questions
What’s the cheapest way to organize a pantry?
Repurposing jars and boxes you already have, combined with painter’s tape labels, costs close to nothing and works just as well as store-bought systems.
Do I need matching containers for my pantry to look organized?
No. Grouping items by category and labeling clearly matters far more than having matching containers.
How often should I clean out my pantry?
A quick weekly reset plus a deeper monthly check for expired items keeps a budget pantry system working long-term.
What should I do if I don’t have a walk-in pantry?
A single cabinet, closet shelf, or rolling cart can function as a pantry with the same category-and-label system used for larger spaces.
Are dollar store bins sturdy enough for pantry organization?
Yes, for light to medium loads like snacks, packets, and small jars. For heavy items like large bags of rice, a slightly sturdier bin or basket holds up better over time.