How to Organize Remotes and Cables in a Living Room Without Spending Much
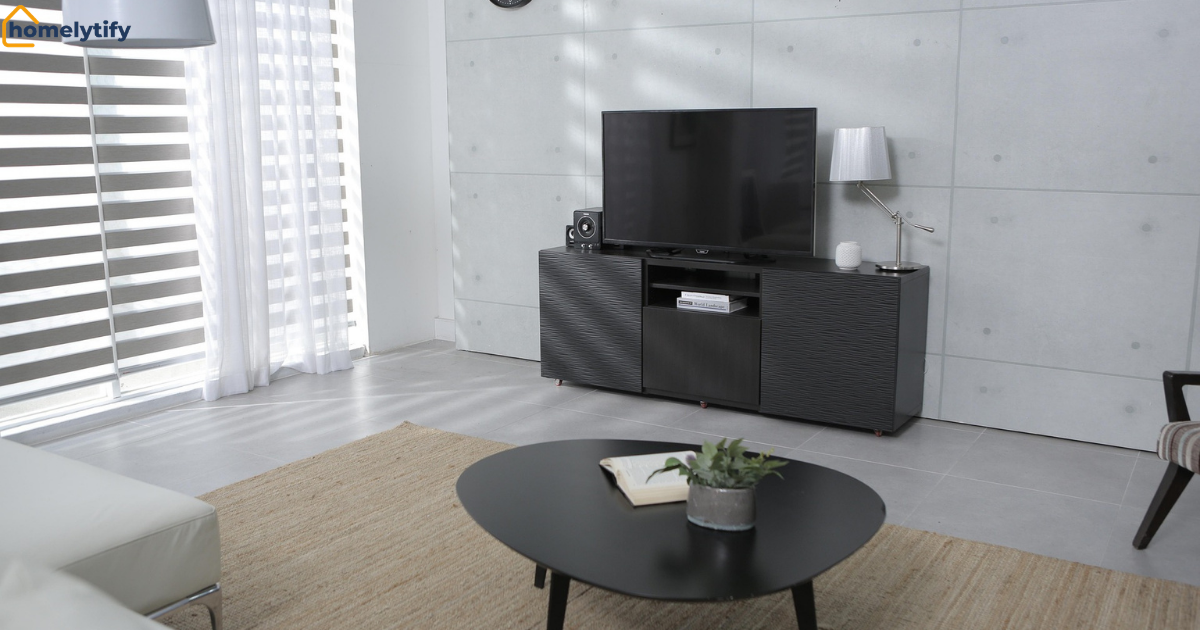
Have you ever crawled behind your TV stand looking for the right end of an HDMI cable? Meanwhile, three remotes slide off the couch cushion behind you. If that sounds familiar, you already know why so many people search for how to organize remotes and cables in a living room.
It’s not a big problem on its own, but it piles up fast — one streaming device today, a soundbar next month, a gaming console after that. By the end of this guide, you’ll have a realistic plan to fix the mess using stuff you probably already have, plus a short list of cheap buys that are actually worth it.
Why Your Living Room Turns Into a Cable Jungle in the First Place
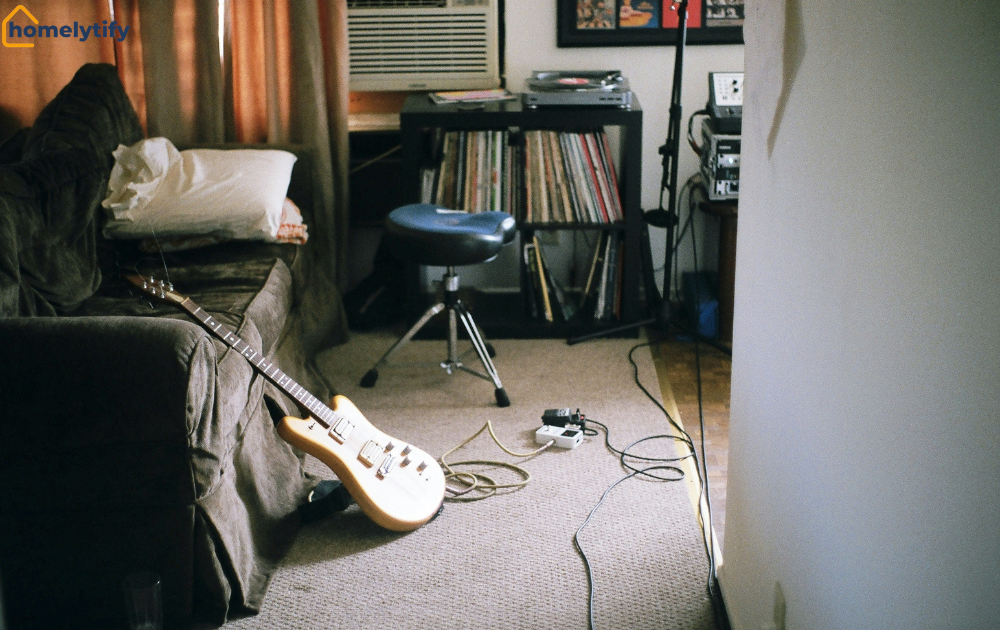
Most cable clutter isn’t from laziness. It’s from adding devices one at a time without ever redoing the setup behind them.
Think about it: you buy a TV, plug it in, done. A year later, you add a streaming stick. Then a soundbar. Then a gaming console for your kid. Each device gets plugged into whatever outlet or power strip is closest, and nobody ever goes back to tidy the whole system. This is where things usually fall apart — not because you’re messy, but because cable management in a living room is never a one-time job. It’s something that needs a quick reset every time you add or swap a device.
This isn’t just a hunch, either. A 2025 study published in the Journal of Environmental Psychology looked at how home clutter relates to mental well-being, including whether people find their space visually pleasing.
The broader body of research behind it has consistently linked more clutter to lower life satisfaction and higher stress — and a messy tangle of cords and remotes behind the TV is exactly the kind of clutter that quietly adds to that load, even if it’s tucked out of sight.
Do a 15-Minute Cable Audit Before You Buy Anything
A cable audit means unplugging everything, labeling each cord, and only reconnecting what you actually use. It takes about 15 minutes and stops you from buying storage solutions for cables you don’t even need anymore.
Here’s how I’d actually do it, step by step:
- Pull your entertainment center away from the wall (or crouch behind it if it’s too heavy).
- Unplug every single cable — power, HDMI, coax, everything.
- Lay them out and figure out which device each one belongs to.
- Toss or coil up anything for a device you no longer own. Old cable box cords and dead phone chargers hide in these tangles more often than you’d think.
- Only plug back in what’s currently connected to a working device.
You’ll usually find you’re storing cables for two or three devices you got rid of years ago. That alone can cut your cable pile by a third before you spend a single dollar on organizers.
I’ll be honest — my own TV console looked like a science experiment gone wrong for almost two years. Four remotes, a game console, a streaming stick, and a soundbar all fighting for the same power strip, cords looping over each other so badly that unplugging the router meant unplugging half the room by accident.
When I finally did the audit above, I found an old cable box cord and a phone charger for a phone I hadn’t owned in three years, both just tangled in with everything else. Once those were gone, the rest of the setup suddenly had breathing room, and I ended up spending about $18 total to finish the job — one cord sleeve, a pack of adhesive clips, and a $3 tray from a dollar store for the remotes.
How Do You Hide TV Cables Without Drilling Holes?
You can hide TV cables without drilling by using a cord cover raceway that sticks to the wall with adhesive strips, running cables along furniture edges with clip channels, or routing them behind a slim console table. These options work on rented walls and don’t leave marks when removed properly.
Adhesive cord covers are the closest thing to the drilled-in look without touching your wall’s drywall. Most paintable raceway kits from a hardware store run $10–$20 for a few feet and come with a channel that snaps shut over the cords. Paint it to match your wall, and it practically disappears.
If you’d rather skip adhesives altogether, self-adhesive cable clips along the back or side legs of your TV stand keep cords from dangling into view. They’re a few dollars for a pack of ten and take two minutes to install.
One thing competitors’ guides tend to skip: adhesive raceways lose their grip on textured or popcorn walls. If your walls aren’t smooth, go with clip-based solutions on the furniture itself instead — it’s more reliable long-term, and you won’t end up with a cord cover falling off the wall six months later.
Cheap Cable Management Tools That Actually Hold Up (Under $15)
Not every product marketed for cable organizing is worth buying. Here’s what’s genuinely held up in real living rooms, not just in product photos.
- Velcro cable ties ($5–$8 for a roll) — reusable, unlike zip ties, so you can add or remove a device without cutting anything off.
- A cable sleeve or cord “spine” ($10–$15) — bundles multiple cords running from your TV to your console into one neat tube. This is the single biggest visual upgrade for the least effort.
- Adhesive cable clips ($4–$6 for a pack) — for routing cords along furniture edges, baseboards, or under a desk-style console.
- A small power strip with USB ports built in ($12–$15) — cuts down on the number of bulky wall-wart chargers you’re juggling, which is often half the clutter behind a TV stand.
- Binder clips from your junk drawer (free) — clip one to the edge of a shelf and thread a charging cable through the metal loop so it never slides down behind the furniture again. This one sounds too simple to work, but it’s genuinely one of the best zero-cost fixes out there.
Skip the pricier all-in-one “cable management boxes” unless you have a lot of power strips to hide — for a standard TV setup, a sleeve plus some clips does the same job for a fraction of the cost.
Where Should You Keep Remotes So You Actually Find Them?
Keep remotes in one fixed spot — a small tray, a wall-mounted pocket, or a drawer in your TV console — and put them back there every single time, not just when the room is being cleaned. The fix isn’t a fancier remote holder; it’s consistency in where they land.
A few setups that genuinely work, depending on your space:
- A shallow tray or bowl on the coffee table. Simple, but only works if everyone in the house actually uses it.
- A wall-mounted remote caddy near the couch, especially good in small apartments where coffee table space is limited.
- A drawer divider inside your TV console — this keeps remotes out of sight entirely, which matters if you care about how the room looks day to day, not just when guests are over.
If you’ve got kids or multiple people using the same remotes, label the back of each one with a strip of masking tape (TV, soundbar, streaming box). It sounds unnecessary until someone’s holding the wrong remote pointed at the wrong device for the third time that week.
Organizing Cables Behind an Entertainment Center or TV Console
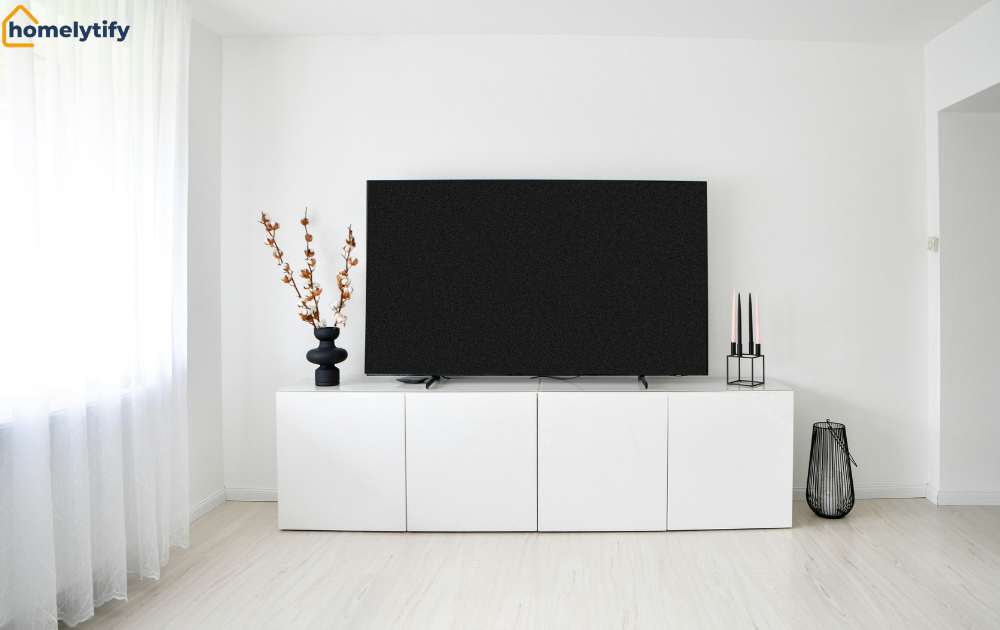
A console with a solid back panel and no cable routing holes is one of the most common reasons cable management in a living room fails before it even starts. If your furniture is fighting you, no amount of clips will fully fix it.
Here’s a realistic approach:
- Cut or drill a single routing hole in the back panel if it’s real wood or MDF you don’t mind altering (skip this if renting).
- Mount a power strip to the inside back of the console with the same adhesive clips mentioned earlier, so it’s off the floor and out of the dust.
- Group cords by device, not by cable type — all the streaming box’s cords together, all the console’s cords together. This makes swapping or troubleshooting a single device much faster later.
- Leave slack, not tension. Cables pulled tight snap or loosen at the ports over time. Give each cord a little give so you’re not stressing the connector every time you shift the TV stand.
If your console is open-backed (no back panel at all), a cord cover running vertically from the wall outlet up to the shelf level keeps things tidy without needing to touch the furniture itself.
What’s the Best Way to Manage Cables When You Have Multiple TVs or Streaming Devices?
With multiple TVs or streaming devices, use a labeled power strip per entertainment zone and color-code cables by room or device so you’re never guessing which cord belongs where. This matters more as your setup grows — a system that works for one TV falls apart fast with three.
A few things that make a real difference in multi-device households:
- Color-coded electrical tape on each cord end — one color per device or room. Costs almost nothing and saves a lot of guesswork.
- A separate power strip per zone (living room, bedroom, playroom) instead of one central strip everyone shares. It’s easier to trace a problem and safer than overloading a single outlet.
- A shared streaming account log taped inside a drawer — not exactly cable management, but if you’re the household’s unofficial tech support, this saves you from re-explaining logins every time someone adds a new device.
This is the part most guides skip entirely: managing cables isn’t just about tidiness once you’ve got more than one TV — it’s about being able to troubleshoot fast when something stops working, because you will eventually need to unplug and replug something at 9 p.m. during a movie night.
Renter-Friendly Fixes That Won’t Cost You Your Deposit
Everything in this guide so far avoids drilling, but it’s worth calling out the options built specifically for renters, since that’s a real constraint for a lot of people searching this topic.
- Command strips and hooks hold cord covers and cable clips without any wall damage, and they’re rated for enough weight for standard cables.
- Furniture-mounted solutions (clips on the TV stand itself, not the wall) sidestep the landlord issue completely.
- Freestanding cord organizers, like a small vertical box that a power strip sits inside, work well if you can’t attach anything to walls or furniture at all.
- Test the adhesive on an inconspicuous spot first. Some rental walls have paint that peels with certain adhesives — a two-minute test on a hidden corner saves you a patch-up job later.
None of this requires a big investment. A renter can fully redo their living room’s cable setup for under $30 using Command Strips, a cable sleeve, and some clips.
Common Mistakes People Make When Organizing Cables and Remotes
- Buying organizers before doing an audit. People grab a cable box or sleeve first, then realize half the cords inside are for devices they don’t use anymore. Audit first, buy second.
- Using zip ties instead of Velcro. Zip ties feel like a quick fix, but you end up cutting them off the moment you need to add or move a device, then buying more. Reusable ties save money over time.
- Ignoring cord length. Buying cables that are way longer than needed just creates more slack to hide. Match cable length to the actual distance between devices where you can.
- Not labeling anything. Six months later, nobody remembers which black cord goes where, and the “organized” system falls apart the first time someone needs to troubleshoot.
- Treating remote storage as a one-time decluttering task. A remote tray only works if it becomes a habit. If remotes keep ending up on the floor, the tray isn’t in a convenient enough spot — move it, don’t abandon it.
Conclusion
Cable and remote clutter in a living room rarely comes from one big mess — it builds up from small additions nobody circles back to fix. The good news is that the fix is just as incremental: an audit, a few dollars in clips and sleeves, a fixed spot for remotes, and a habit of putting things back where they belong.
None of it requires a full living room overhaul or an expensive product haul. Pick one section from this guide, spend twenty minutes on it this weekend, and you’ll already notice the difference before you tackle the rest.
Frequently Asked Questions
What’s the cheapest way to hide TV cables?
Adhesive cable clips and a cord sleeve are the cheapest options, usually under $15 combined, and they don’t require any drilling or wall damage.
How do I stop losing my remote controls?
Pick one fixed spot — a tray, drawer, or wall caddy — and commit to putting remotes back there every time, not just during cleanup.
Can I organize cables without drilling into the wall?
Yes. Adhesive cord covers, furniture-mounted clips, and cable sleeves all work without touching the wall, making them ideal for renters.
How do I manage cables for multiple TVs or streaming devices?
Use a separate power strip per zone and color-code cables by device or room so you can trace and troubleshoot connections quickly.
What’s the biggest mistake people make when organizing cables?
Buying storage products before auditing what cables they actually still use, which leads to overbuying and re-tangling the same clutter.