DIY Storage Ideas for Small Homes That Save Space Fast
Living in a small home feels manageable until it doesn’t. One day, you look around, and every surface is covered, every drawer is jammed, and you genuinely don’t know where anything goes anymore. If you’ve been searching for DIY storage ideas for small homes that actually work without costing a fortune or requiring a weekend of heavy labor, you’re in the right place.
This guide is practical and specific. No filler advice, no suggestions that require a contractor. Just real solutions you can pull off today, tomorrow, or over a lazy weekend, most of them for under ten dollars.
Why Small Homes Run Out of Storage So Fast
It sneaks up on you. One month everything fits, and three months later, you can’t close the closet door. The problem isn’t always that you own too much stuff. Sometimes the space itself is just set up wrong.
Small homes have the same number of rooms as larger ones; they’re just compressed. The kitchen has no pantry. The bedroom has no walk-in. The bathroom barely fits two people. So items pile up in the wrong places, and before long, clutter becomes the default state.
The Real Cause of Clutter in Small Spaces
Here’s a truth most organizing articles skip over: clutter in small spaces is usually a flow problem, not a stuff problem. Things don’t have an assigned home, so they land wherever there’s room.
The countertop becomes a dumping ground for mail, bags, chargers, and keys. The floor collects shoes, bags, and anything that didn’t make it to a shelf.
When items don’t have a fixed place to live, they pile up. It’s not laziness, it’s physics. Storage solves this by giving every item a home.
I noticed this myself in my own 420-square-foot apartment. The kitchen counter had turned into a permanent landing zone for bags, mail, chargers, and whatever I carried in through the door. I bought two storage bins, thinking that would fix it.
It didn’t. What actually worked took about ten minutes, a small hook beside the entrance, and a single basket on the counter with one rule: everything that doesn’t belong in the kitchen goes into the basket by the end of the day.
The counter was clear the same evening. Not because I had more space, but because each item finally had a home with zero friction to use it.
Why Buying More Storage Rarely Fixes the Problem
This is where most people get stuck. They buy a set of bins, a bookshelf, or a closet organizer, and six weeks later, the clutter is back. The reason is simple: they stored things they should have gotten rid of first.
Buying storage before editing your belongings just means you’re organizing clutter more neatly. The actual fix is to reduce first, then build storage around what’s left. More bins do not mean more space. They mean more containers full of things you forgot you owned.
Before You Build Anything, Do This First
Before you nail a single shelf or fold a single box, spend one hour doing two things. This step takes minimal effort but changes everything about how effective your storage will actually be.
The most common reason DIY storage fails is that people skip this stage. They build something, fill it up, and wonder why nothing feels better.
Declutter Before You DIY
Go room by room with a laundry basket and a trash bag. The basket is for things that belong somewhere else. The trash bag is for things that need to leave your home entirely. Don’t overthink it if you haven’t used something in six months and it doesn’t serve a clear purpose; it goes.
You don’t need to do a full life-changing declutter. Even clearing 20 to 30 percent of what you own makes the storage situation dramatically more manageable. The goal here is to make sure you’re building storage for the things you actually use, not everything you’ve ever accumulated.
There’s real science behind why this step matters beyond just tidiness. A study by UCLA’s Center on Everyday Lives of Families tracked 32 middle-class, dual-income families in Los Angeles and found that women living in cluttered homes had measurably higher cortisol levels, the body’s primary stress hormone, throughout the day compared to those in organized spaces.
The researchers measured cortisol directly from saliva samples and found that the more clutter-related words a woman used to describe her home, words like “mess” and “very chaotic,” the more elevated her stress levels were across the entire day.
In a small home where clutter is harder to contain and impossible to escape, this isn’t a background issue. It’s affecting your focus, mood, and energy every single hour you spend there.
How to Spot the Hidden Storage You Already Have
Walk through your home and look up. Most people in small homes have 12 to 18 inches of unused space above every cabinet, shelf, and wardrobe. That’s real estate.
Then look under. Under the bed, under the couch, under the bathroom sink. Then look behind doors — that back-of-door space is almost always empty and surprisingly easy to use.
Once you see these spots, you’ll realize you probably have more storage potential than you thought. The goal of DIY isn’t to create storage from scratch; it’s to activate the space you already have.
DIY Storage Ideas for Small Homes That Cost Almost Nothing
You don’t need to go to the hardware store or order anything online. Some of the most functional small-space storage solutions come from items already in your home. This is where quick DIY storage solutions get genuinely satisfying; you’re solving the problem for free.
The ideas here aren’t just cheap. They’re often better than purchased alternatives because they fit your space exactly.
Repurpose What You Already Own
Shoe boxes with lids make excellent drawer organizers. Cut the tops off, place them inside dresser drawers, and use each box to separate socks, underwear, accessories, or cables. They’re free, stackable, and labelable.
Wine racks sitting unused? Lay one on its side on a kitchen counter to store water bottles, rolled towels, or even spray bottles under the sink. An old wooden ladder leaning against a wall holds blankets, towels, or bags with surprising elegance.
A muffin tin in a drawer keeps small items, batteries, clips, erasers, and screws sorted without a single divider purchased. Look at what you already own as raw storage material, not just as the things you’re storing.
Cardboard, Crates, and Containers That Actually Work
Cardboard magazine holders from the dollar store, covered in contact paper or left plain, become instant desk organizers, pantry dividers, or shelf separators. They hold their shape better than you’d expect.
Milk crates are underrated. Stack two or three against a wall, zip-tie them together for stability, and you have a freestanding shelving unit that holds books, shoes, or kitchen supplies.
Old wooden crates from a fruit market work the same way and cost nothing. A tension rod placed horizontally inside a cabinet creates a second level for spray bottles, bags, or small items, doubling the usable space without touching the walls or cabinet structure.
Room-by-Room DIY Storage Solutions
Generic advice doesn’t help much here. What works in a kitchen won’t work in a bathroom, and bedroom storage has its own rules. Let’s get specific.
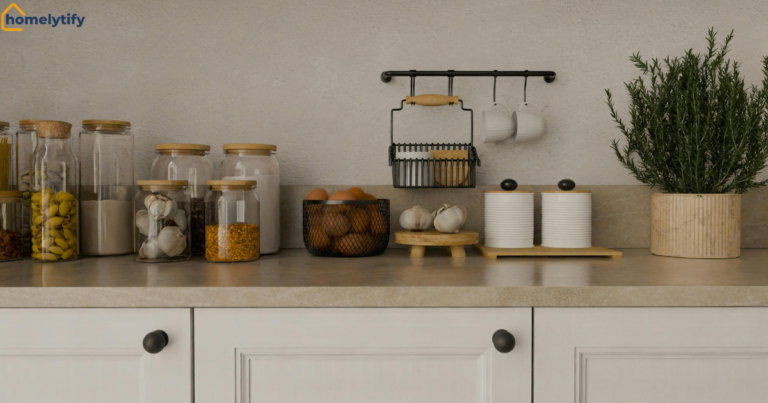
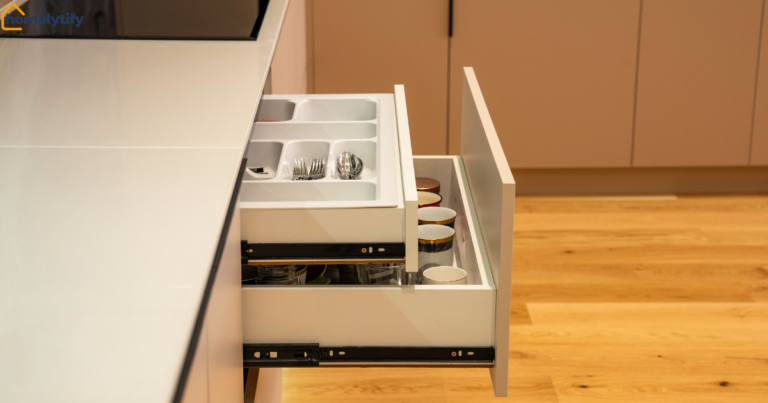
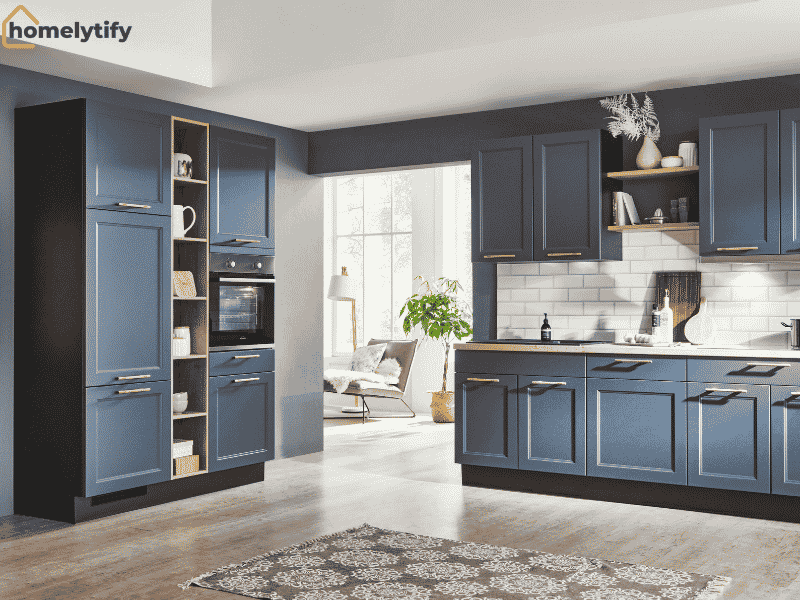
Kitchen — Build Storage Without Touching the Walls
The kitchen is where small-space storage frustration hits hardest. Counter space disappears fast, and cabinets fill up before you know it.
Start with a tension rod under the sink. Mount it horizontally between the two sides of the cabinet and hang spray bottles from it by their triggers. This keeps the bottom of the cabinet clear and makes products easy to grab. Cost: under three dollars. Time: two minutes.
Add a second shelf inside any cabinet that has vertical clearance. Most kitchen cabinets have 12 to 16 inches of height but hold only one layer of items. A small wire shelf riser (or even a cut piece of wooden board resting on two stacked cans) creates a second layer. Suddenly, your mugs go on top, plates below, and you’ve doubled usable space without touching anything permanently.
Mount a magnetic knife strip to the side of the refrigerator if you can’t drill into the backsplash. It holds knives, scissors, bottle openers, and anything metal. Cost: five to eight dollars. Time: five minutes with adhesive mounting strips.
For a renter-friendly pantry: get a tall, freestanding wire rack and place it in any unused corner. A corner between the refrigerator and a wall, for example, can hold a full pantry’s worth of dry goods, canned items, and small appliances. No drilling required.
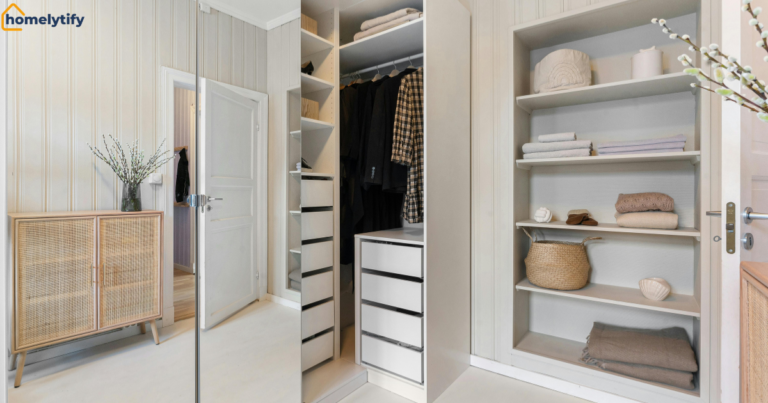
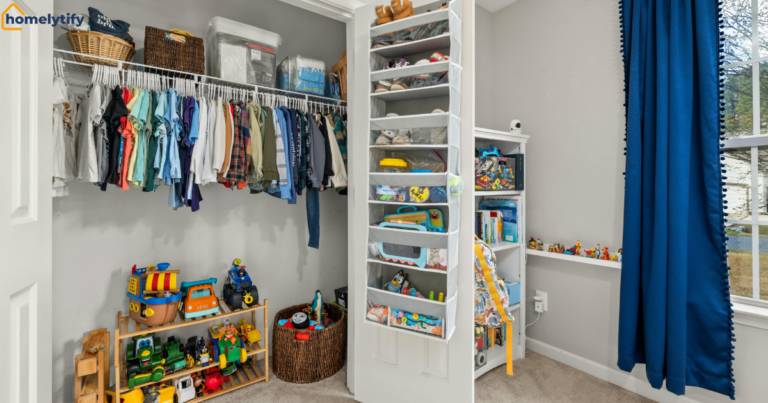
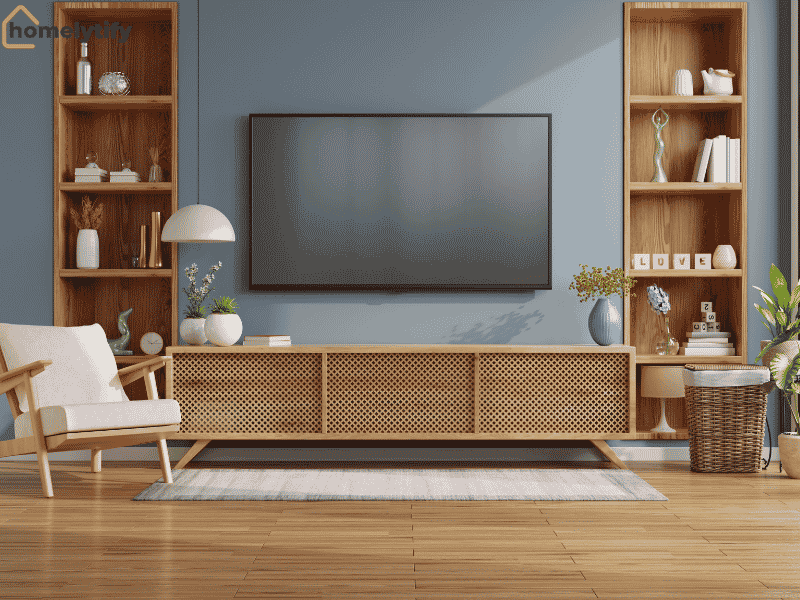
Bedroom — DIY Under-Bed and Closet Solutions
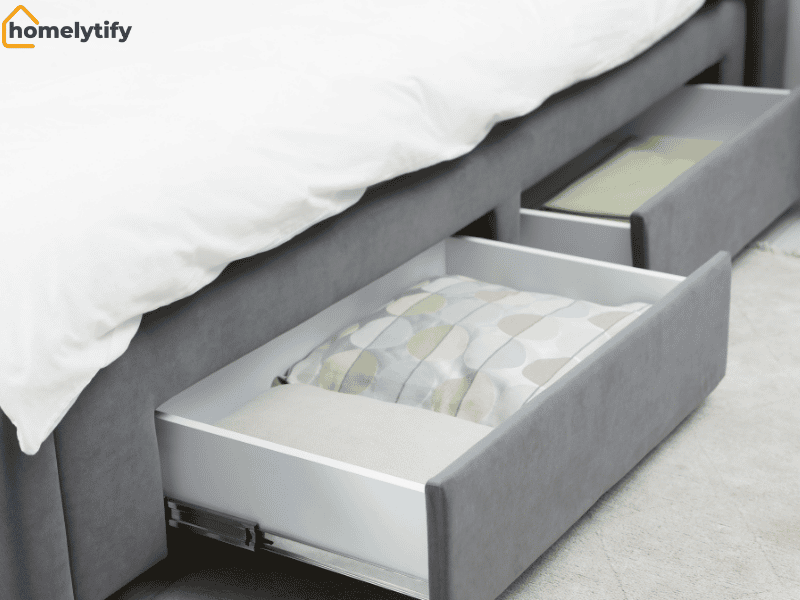
Under-bed storage is the most underused space in most bedrooms. The average bed sits 12 to 18 inches off the floor, which is roughly the equivalent of a full dresser drawer on each side.
If your bed sits low to the ground, get furniture risers and lift each leg three to five inches. This opens up the under-bed space without buying a new bed frame.
Then slide flat storage bins under on each side. One side for seasonal clothing, one side for extra linens. No labels needed if you commit to the system.
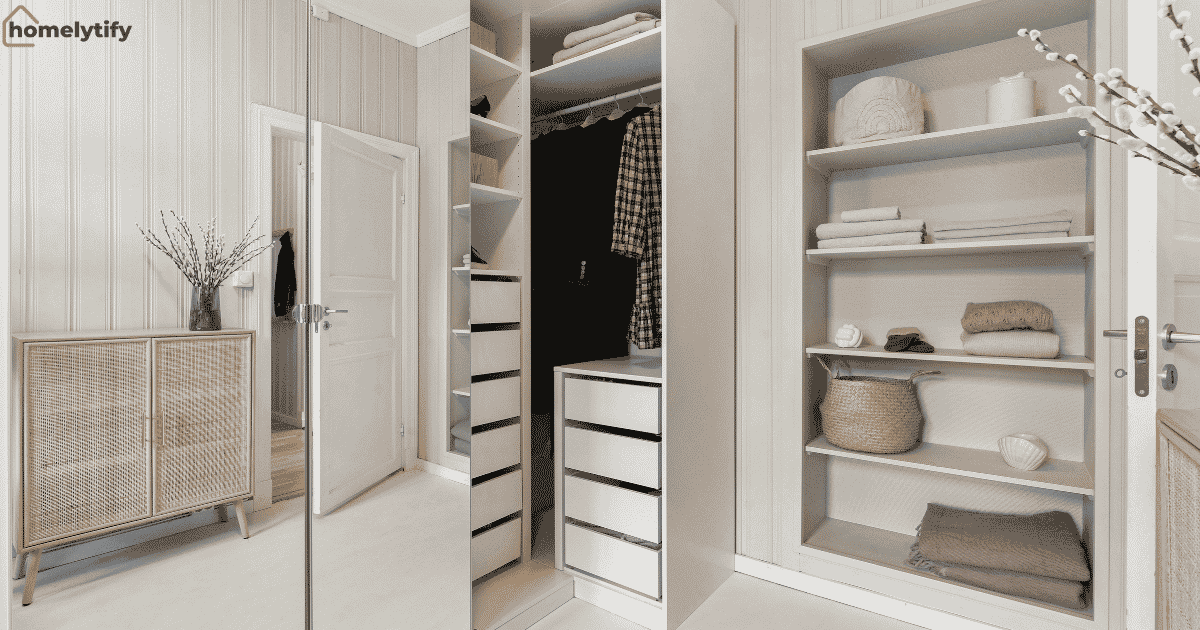
For closets: hang a second rod below your existing hanging rod. Most closets have a single rod set high, which wastes the lower half of the space. A second rod hung from the first one with chains or zip ties costs less than five dollars and immediately doubles your hanging capacity.
Short items like shirts, jackets, and folded pants work perfectly on the lower rod.
Shoe pockets, the over-door variety, don’t have to store only shoes. In a bedroom closet, they’re excellent for accessories, folded scarves, belts, phone chargers, small bags, or anything that tends to pile up on flat surfaces. They use the door space that would otherwise sit empty.
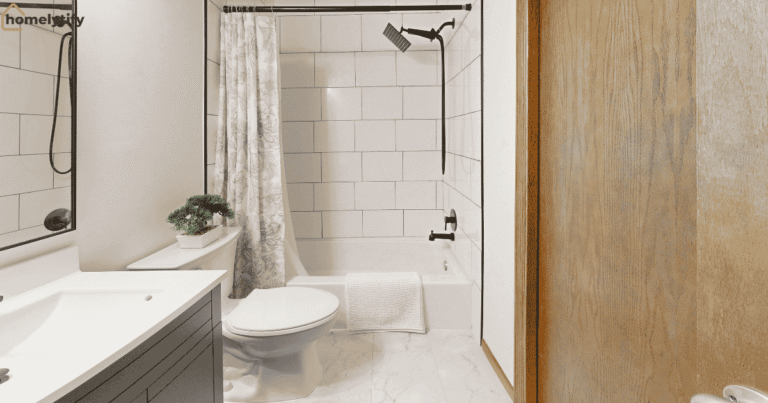
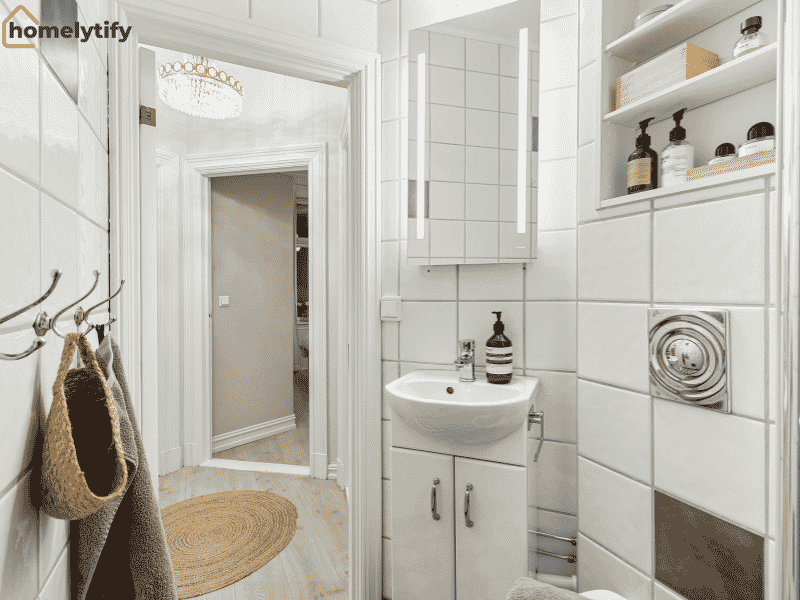
Bathroom — Small Space Storage You Can Make in Minutes
Bathroom storage in a small home usually means working with one cabinet under the sink, a medicine cabinet if you’re lucky, and not much else.
The back of the cabinet door is the most commonly wasted space in any bathroom. Stick an adhesive-mount wire rack on the inside of the door, and it holds hairdryers, flat irons, curling irons, or cleaning supplies. Keep the item close to where you use it, and clear it off the counter.
A tension rod placed vertically inside the under-sink cabinet (side to side) divides the space and lets you hang a small organizer basket on it. Use one side for cleaning supplies and the other for personal care items. Nothing requires drilling.
For counter space: a small command hook on the wall beside the mirror holds your hair dryer, robe, or bag. Three hooks at different heights handle morning routines without eating any surface space. Estimated cost: three dollars. Time: five minutes.
A magnetic strip on the inside of a medicine cabinet door holds bobby pins, tweezers, nail clippers, and small metal items that usually disappear into a drawer, never to be seen again.
How to Maximize Vertical Space With Simple DIY Projects
Most people store things horizontally across counters, on floors, in piles. The trick in a small home is thinking vertically. The wall space between your furniture tops and your ceiling is almost always empty, and in a home short on floor space, that’s where your storage should go.
This isn’t about building elaborate wall systems. It’s about a few simple additions that take an afternoon and last for years.
Wall-Mounted Shelves Without Professional Help
Floating shelves are the single most effective vertical storage solution for small homes. They hold books, plants, kitchen supplies, bathroom items, or decorative containers, and they take zero floor space.
You don’t need a drill to install them in many cases. Adhesive-mounted shelves rated for five to ten pounds work for lightweight items and leave no wall damage, which makes them perfect for renters.
For heavier items, a basic stud-finding tool and two screws per bracket is a beginner-level job that takes about 20 minutes per shelf.
Best placement in the kitchen: above the counter, between the top of the cabinet and the ceiling. Best in the bedroom: above the headboard for books, a lamp, or a charging station. Best in a bathroom: above the toilet, which is the most consistently wasted wall space in any small home.
Use floating shelves to move things off surfaces and up the walls. A kitchen shelf holding spices and oils frees up the entire countertop below. A bathroom shelf holding towels and toiletries empties the vanity.
Over-Door and Above-Cabinet Storage Ideas
Over-door organizers are one of the fastest small home quick-fix organization tools available. No installation required. They hang over the door, hold real weight, and use space that would otherwise sit empty.
In the kitchen, an over-door organizer on the pantry door holds canned goods, spice jars, snacks, or cleaning supplies. In the bedroom, it holds shoes, accessories, or folded items. In the bathroom, it replaces a cabinet entirely for some households.
The space above cabinets in kitchens, especially, is almost always empty. Baskets placed above kitchen cabinets hold infrequently used items: extra serving dishes, seasonal bakeware, and appliances used twice a year. The key is to use closed baskets or boxes so the items don’t collect grease and dust. This is easy wall storage applied to existing furniture rather than the wall itself.
DIY Storage Ideas for Small Homes on a Tight Budget
Some of the best storage ideas don’t cost anything at all. But if you need to spend a little, there are reliable places to stretch every dollar farther than you’d expect.
Dollar Store Materials That Work Surprisingly Well
Command hooks hold more than most people realize; many are rated for two to five pounds per hook. A row of them on the inside of a closet door holds bags, belts, hats, and scarves. A row inside a kitchen cabinet holds pot lids, cutting boards, or measuring cups.
Wire baskets from the dollar store work as drawer organizers, under-sink dividers, pantry separators, and bathroom organizers. They’re simple, stackable, and easy to clean.
Adhesive hooks on the side of a refrigerator hold oven mitts, dish towels, or a small notepad. On a bathroom wall: robes, bags, hair tools. On the back of a desk chair: headphones or a bag. These three-dollar solutions eliminate piles more effectively than most elaborate storage systems.
Weekend Projects Under Ten Dollars
A pegboard section costs about five to eight dollars at a hardware store and completely transforms kitchen or garage wall storage. Cut it to size, mount it on the wall with small standoff screws (included or sold for a dollar), and add wire hooks.
Hang pots, pans, utensils, scissors, measuring cups, and anything with a hole or a hook. The whole project takes about an hour and transforms dead wall space into organized, accessible storage.
A rope shelf is a weekend project that costs almost nothing. Cut a plank of wood (any scrap piece works), drill two holes on each end, thread rope through and knot it, and hang it from two ceiling hooks using the rope.
This holds plants, books, or small baskets and uses ceiling space that’s otherwise always empty. Materials: under five dollars if you have scrap wood.
Stacking wooden crates from a craft store (usually two to three dollars each) and securing them to each other and to the wall with a single bolt creates a bookshelf, entryway organizer, or bedroom shelving unit. They look intentional and hold real weight.
Common DIY Storage Mistakes That Waste Space
This is where things usually fall apart, not during the building phase, but because of choices made before and after. Here are the mistakes worth avoiding, because most are invisible until they’ve already cost you time and money.
Buying storage containers before measuring. This happens constantly. Someone buys six matching bins from a store, gets home, and they’re either too big or wrong for the space. Always measure the shelf, drawer, or cabinet first. Write it down. Buy to fit.
Storing rarely used items in prime locations. Your most-used items should live at eye level and arm’s reach. Holiday decorations, extra supplies, and seasonal items should be stored high, deep, or under furniture, not in the easiest-to-reach spots, which should be reserved for everyday use.
Ignoring the floor-to-ceiling dimension. Most people organize horizontally. The wall above your desk, beside your door, above your toilet, this space is free and often permanent. Using it for storage doesn’t sacrifice floor space at all.
Choosing storage that’s too large for the room. An oversized dresser in a small bedroom doesn’t just take up floor space; it makes the room feel cramped and harder to move through. Smaller, well-placed storage pieces almost always outperform large, dominating ones in tight spaces.
Not labeling containers. It sounds minor. It isn’t. Unlabeled bins and boxes get opened and dug through repeatedly. Things get pulled out and not returned. Labeling takes 30 seconds per container and saves hours of re-organizing over months. Even a piece of tape with a pen mark works fine.
How to Keep Your Small Home Organized After Building Storage
Building a storage system is actually the easy part. Keeping it working is where most small-home organization efforts quietly collapse. The problem isn’t willpower; it’s that most systems are built for the best-case version of daily life, not the real one.
The single most effective maintenance habit is the five-minute reset. Each evening, spend five minutes returning items to their homes. This isn’t cleaning, it’s just putting things back. When the reset takes under five minutes, the system is working. When it starts taking 20 minutes, the system has broken down somewhere.
One-in-one-out is the other rule worth keeping. Every time something new enters your home, something leaves. A new shirt means an old one gets donated. A new kitchen gadget means an old one goes. In a small home, this isn’t a lifestyle rule; it’s a practical necessity. The volume of stuff that fits in a small home is fixed. The only variable you control is what stays.
Revisit your storage setup every three to four months. Seasons change what you need access to. Habits shift. What worked in January may be wrong by June. A quick 30-minute review is usually enough to adjust and reset the system.
Small Home Storage Checklist
Before you start any project, run through this:
- Declutter each room, remove anything you don’t use.
- Identify unused vertical space in every room.
- Check behind every door for wasted space.
- Check under every piece of furniture.
- Measure shelves, drawers, and cabinets before buying anything.
- Identify your highest-traffic areas for prime storage placement.
- Label every container and bin after filling.
- Plan a five-minute daily reset to maintain the system
Conclusion
Small-space living doesn’t mean accepting clutter as a permanent condition. It means being smarter about how space gets used. The DIY storage ideas for small homes in this guide aren’t complicated; most take under an hour, cost under ten dollars, and use materials you either already own or can pick up without a trip to a specialty store.
The first move is decluttering. The second is spotting what space you already have. The third is building storage that fits your actual life, not a perfect version of it.
Start with one room. Pick the easiest fix from the list: a tension rod under the sink, a shelf above the toilet, an over-door organizer, and do that one thing today. Momentum from one solved problem is usually enough to keep going.
Frequently Asked Questions
What are the easiest DIY storage ideas for a small apartment?
Over-door organizers, tension rods under the sink, command hook rows, and floating shelves above furniture are all renter-friendly, require no drilling, and can be set up in under 30 minutes.
How do I create more storage without spending much money?
Repurpose what you own first: shoe boxes as drawer dividers, wine racks for bottles and bags, old crates as shelves. Then hit the dollar store for adhesive hooks, small wire baskets, and bins before spending on specialty storage products.
What is the best way to maximize storage in a small bedroom?
Use under-bed space with flat bins, add a second hanging rod in the closet, and use an over-door shoe organizer for accessories. These three changes alone can add the equivalent of a full dresser’s worth of storage.
Are there storage solutions that won’t damage walls for renters?
Yes. Command hooks, adhesive strips, tension rods, over-door organizers, and freestanding shelving units require no drilling or permanent damage. Most are removable and leave no marks if used within their weight ratings.
How do I keep my small home organized once storage is set up?
Do a five-minute reset each evening to return items to their homes, follow a one-in-one-out rule for new purchases, and revisit your storage setup every few months as your needs change.